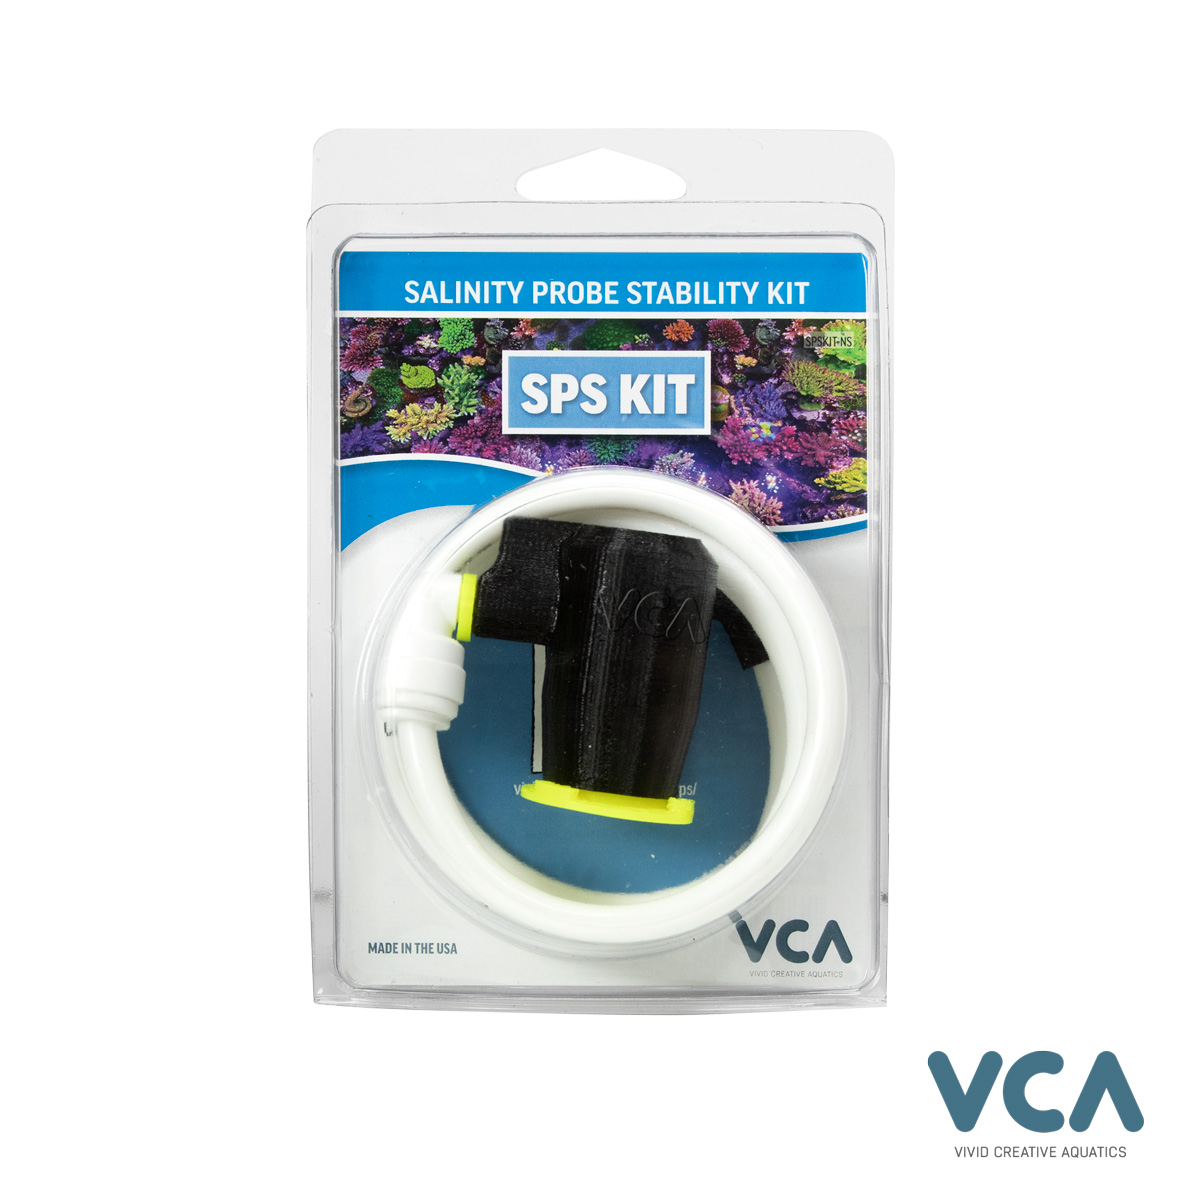
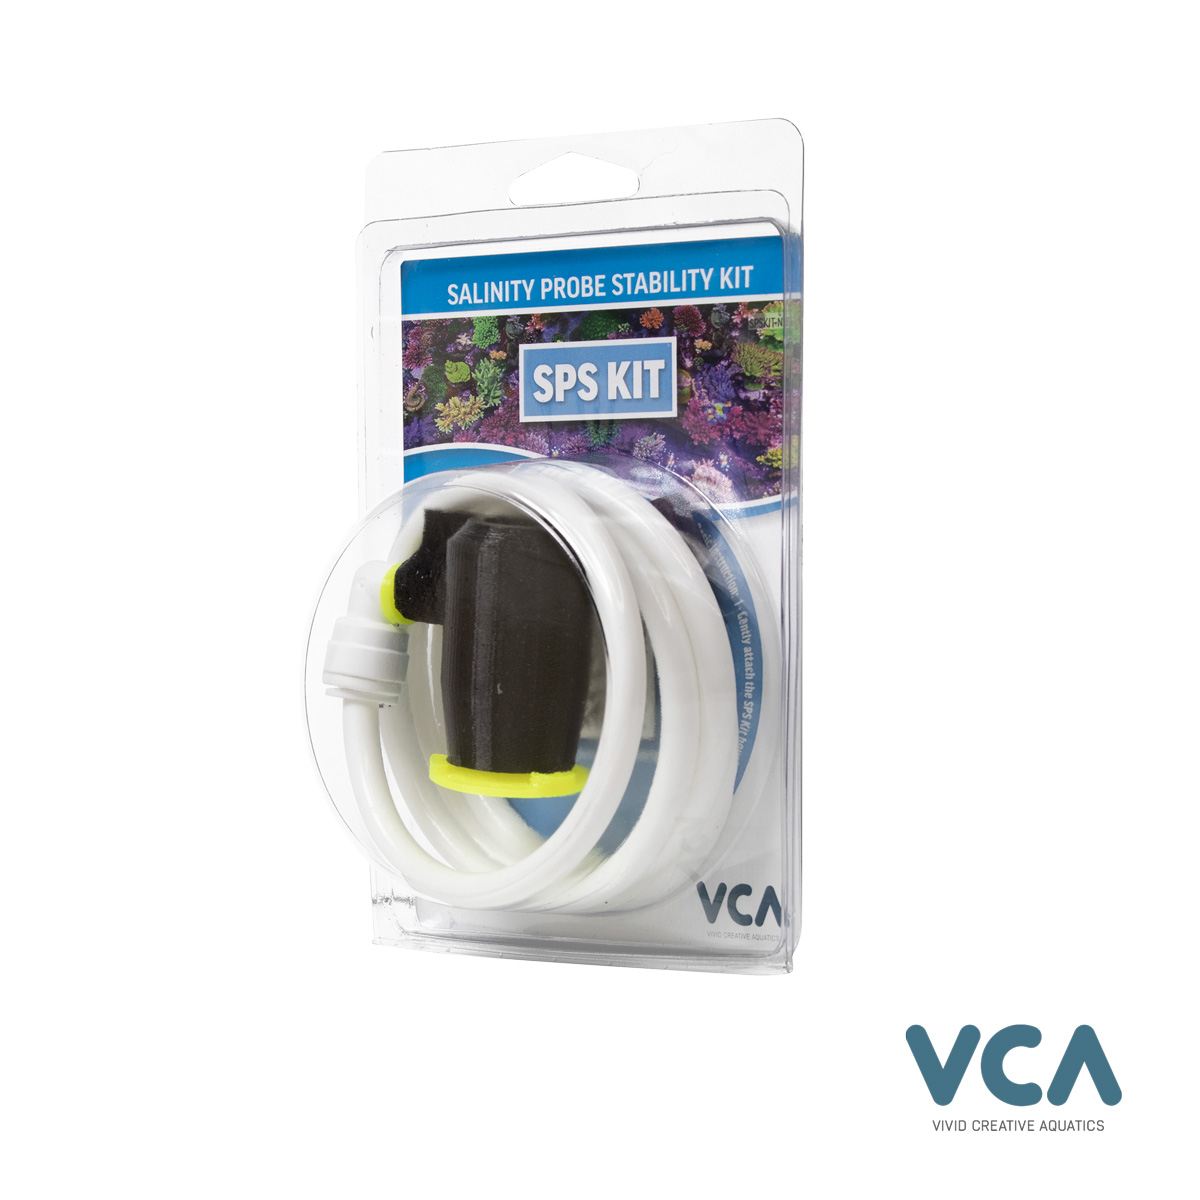
SPS Kit – The Salinity Probe Stability Kit
View Quick-Start Guide ››
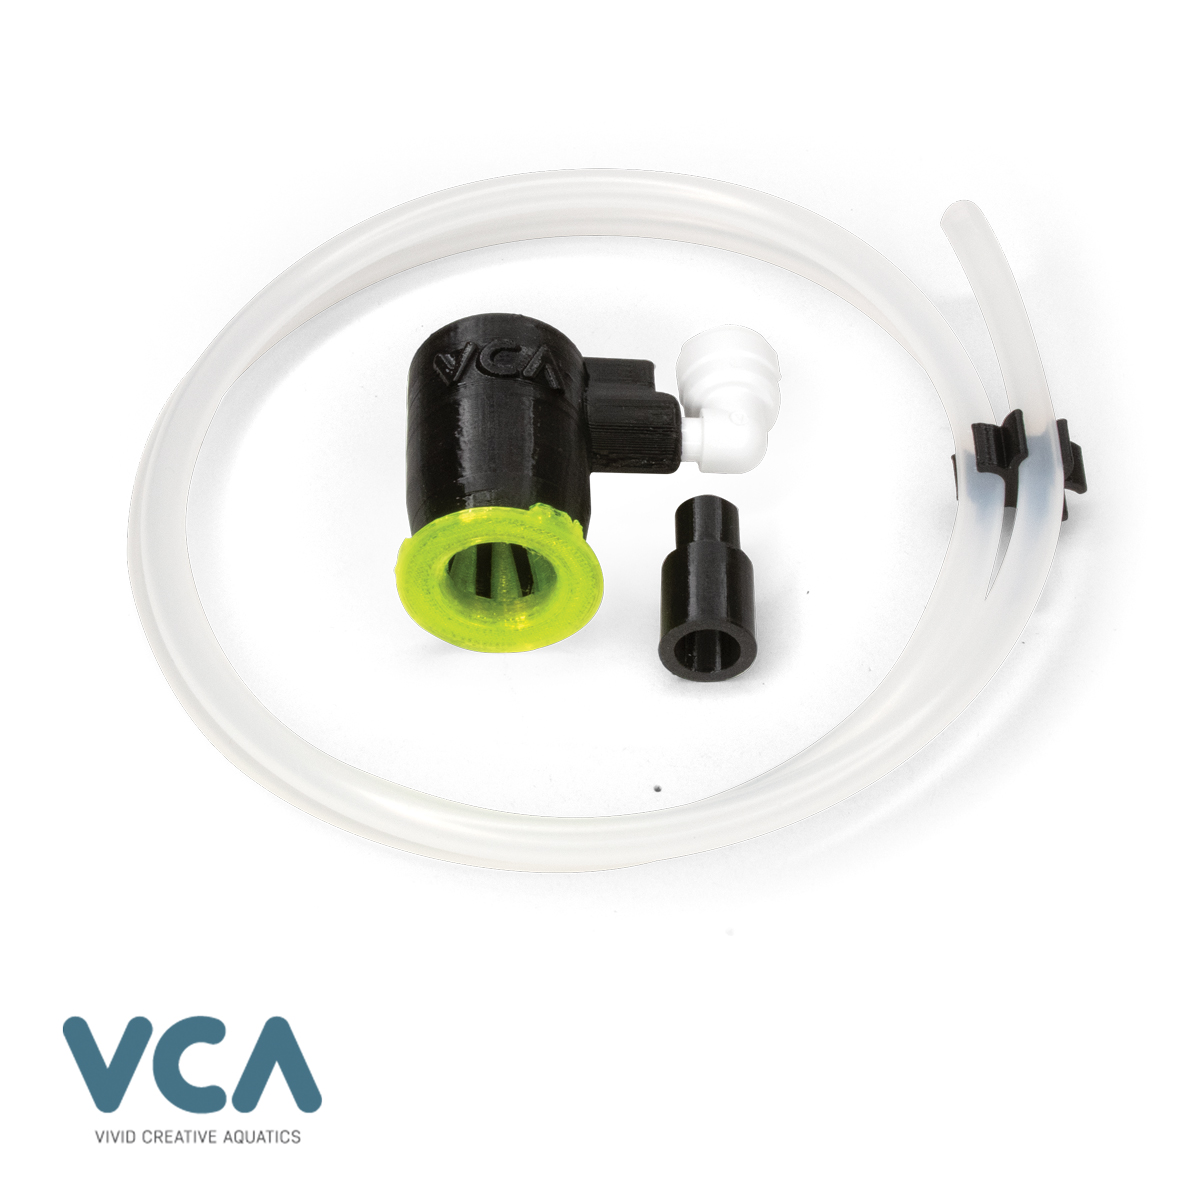
Kit Includes:
- Salinity Probe Stability Assembly
- 30-32in of 1/4in supply-line hose
- 2-in-1 adapter for the Neptune PMUP or SICCE Micra (90 GPH version)
Important Installation notes
- For best result in air bubble rich environment, supply a constant 60-90 GPH, not to exceed 100 GPH of flow.
- Ideally, the supply line is fed by a small pump or manifold port after in-sump filtration.
- Probe with SPS Kit can be installed in any area of your sump, overflow or drain chamber.
View Quick-Start Guide ››
$27.95
16 in stock (can be backordered)
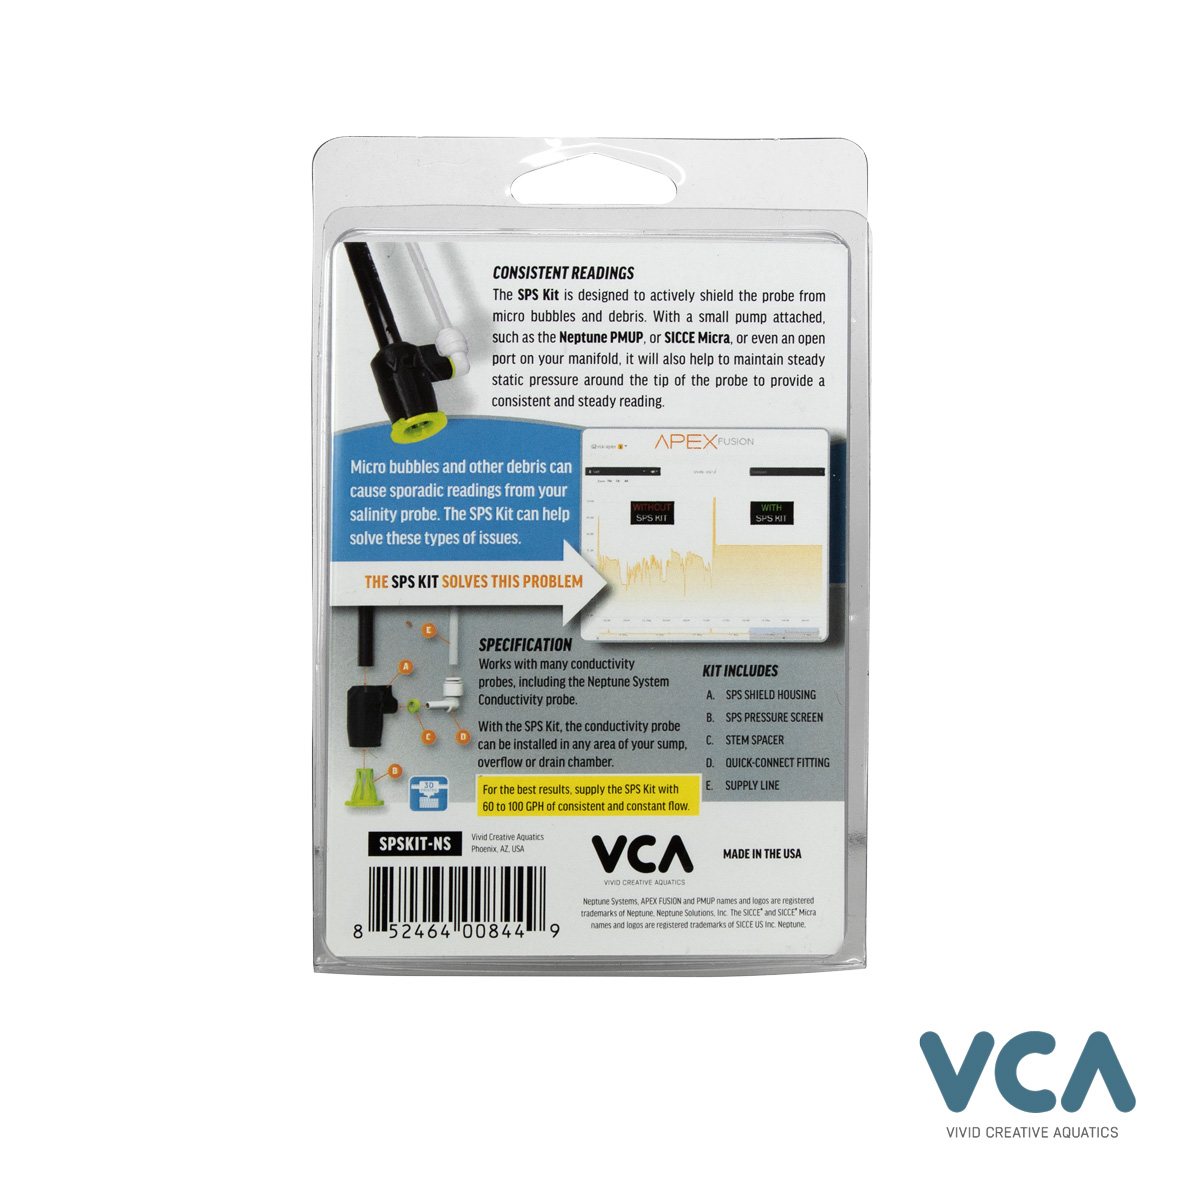
Monitoring Salinity in an Aquarium can be a Challenge
Get Reliable and Consistent Readings with the SPS Kit
One of the biggest challenges with conductivity probes is getting a consistent reading. Many times, the reading is fouled by small bubbles or debris getting on to the probes and end.
The SPS – Salinity Probe Stability Kit Solves the Problem.
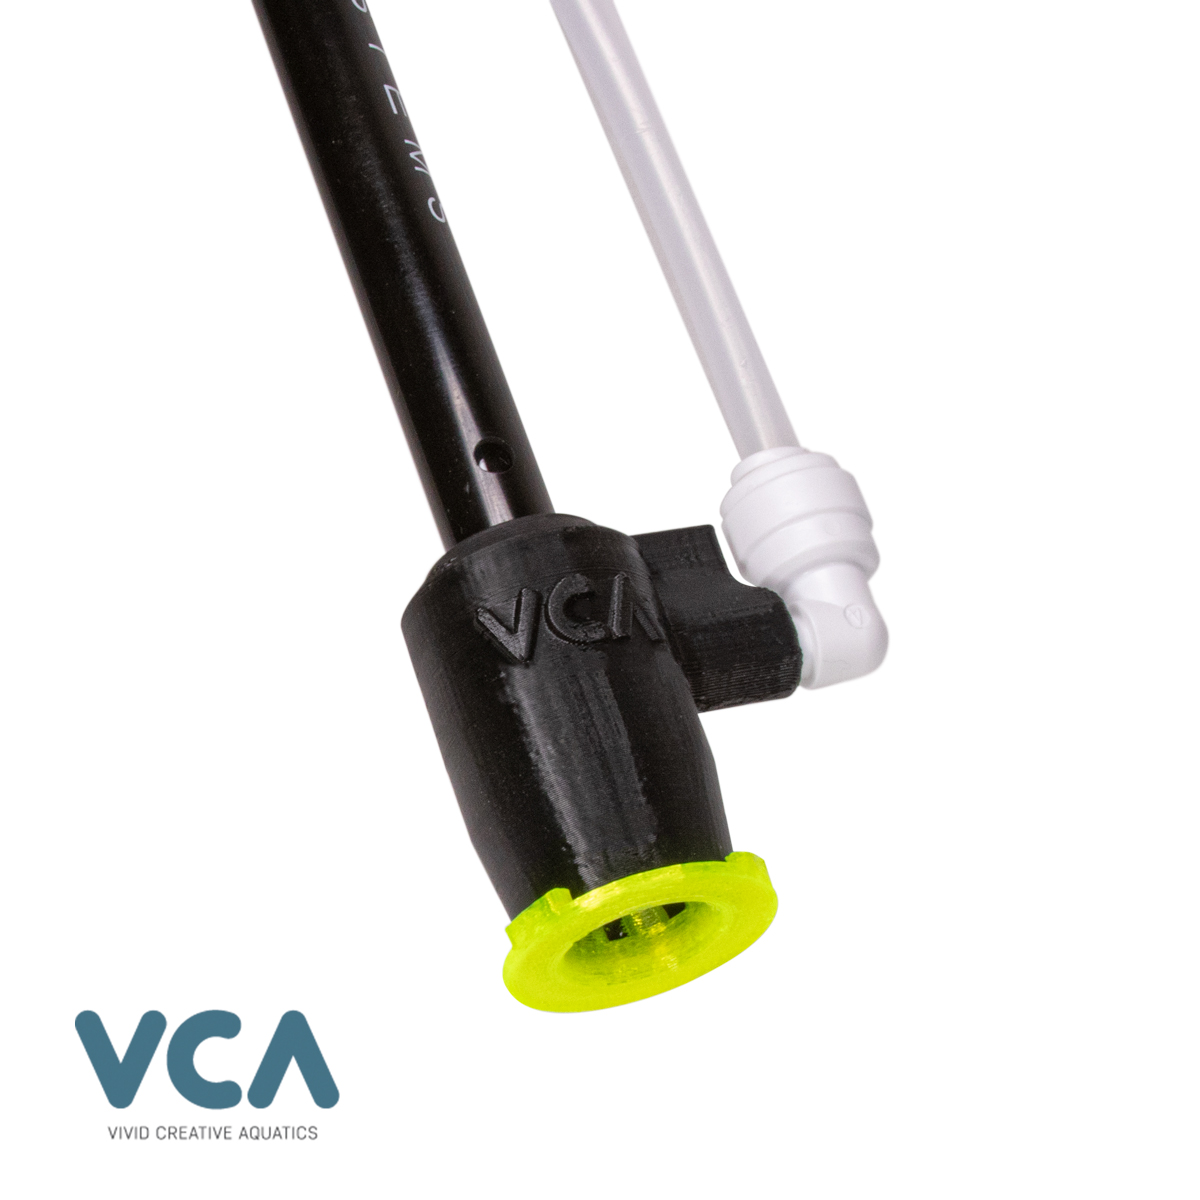
Easy to Use
Simply slip the SPS kit over the end of your probe, connect the 1/4in supply line to a small pump such as a Neptune Pmup, or SICCE 90 GPH Micra, or even an open port on your manifold. For the best results, supply the SPS kit between 60 to 100 GPH of consistent and constant flow.
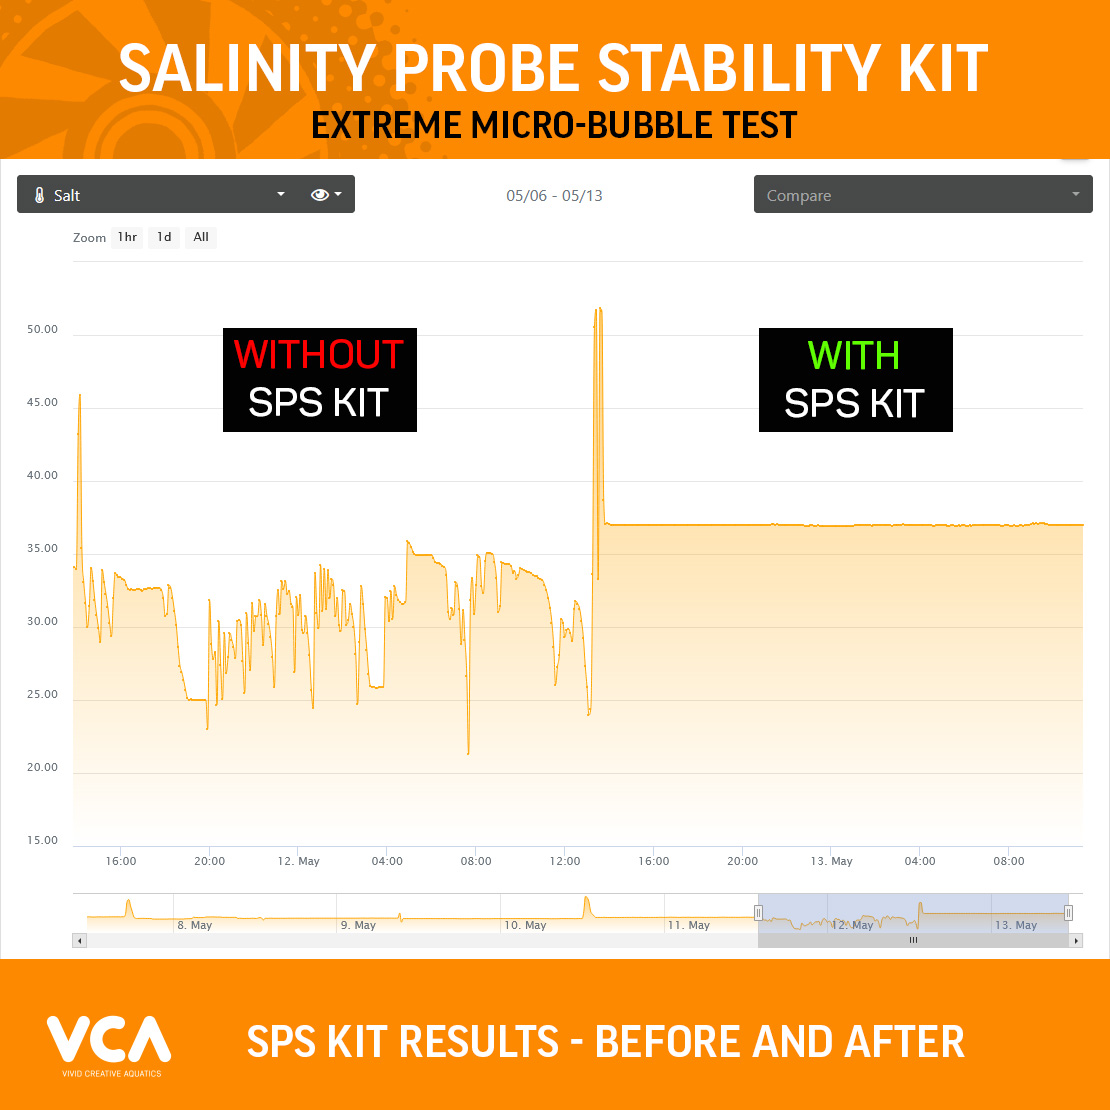
Designed to Produce Consistent Readings
The SPS Kit is carefully designed to create just the right amount of water movement and constant pressure around the probe to provide a solid and reliable reading. It will also shielding the probe from bubbles and other debris. If a bubble does get in, the SPS kit’s constant flow over the probe will act to flush it out and help the reading recover quickly.
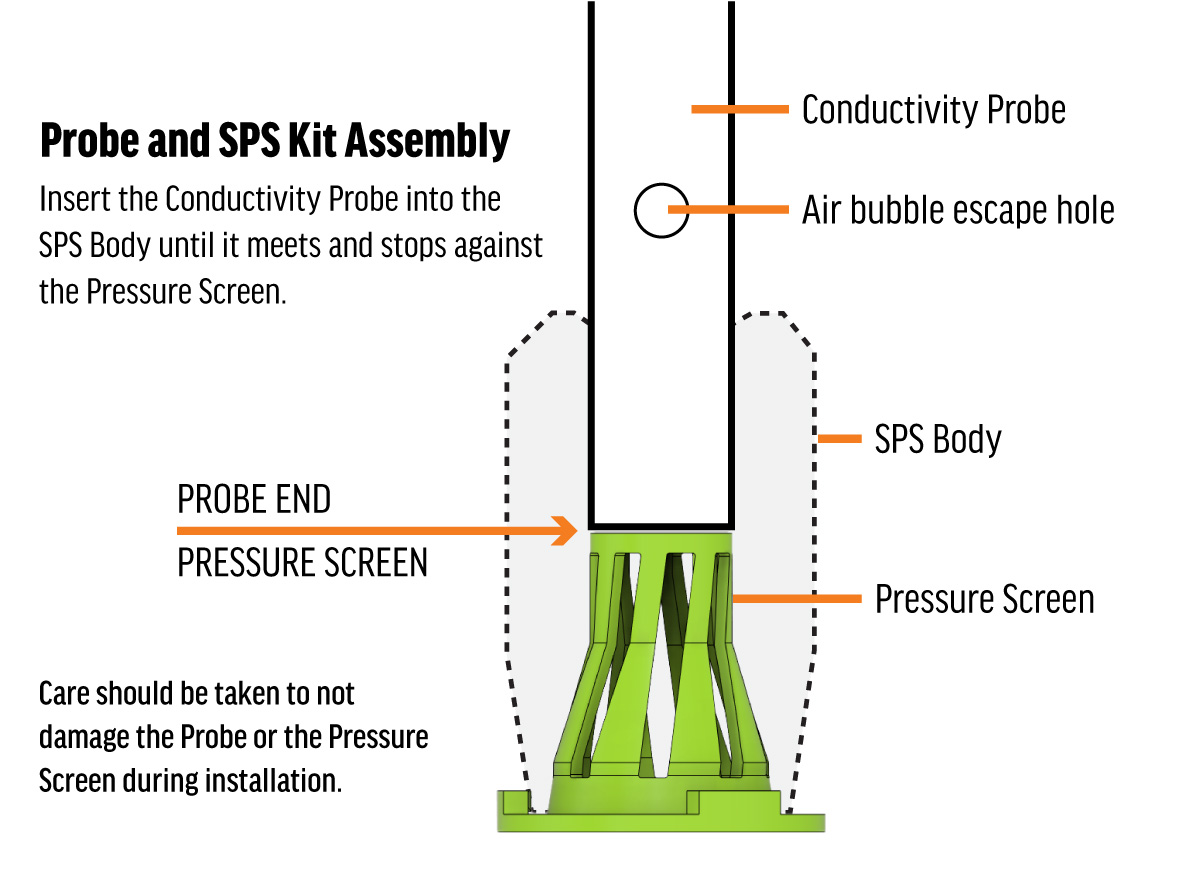
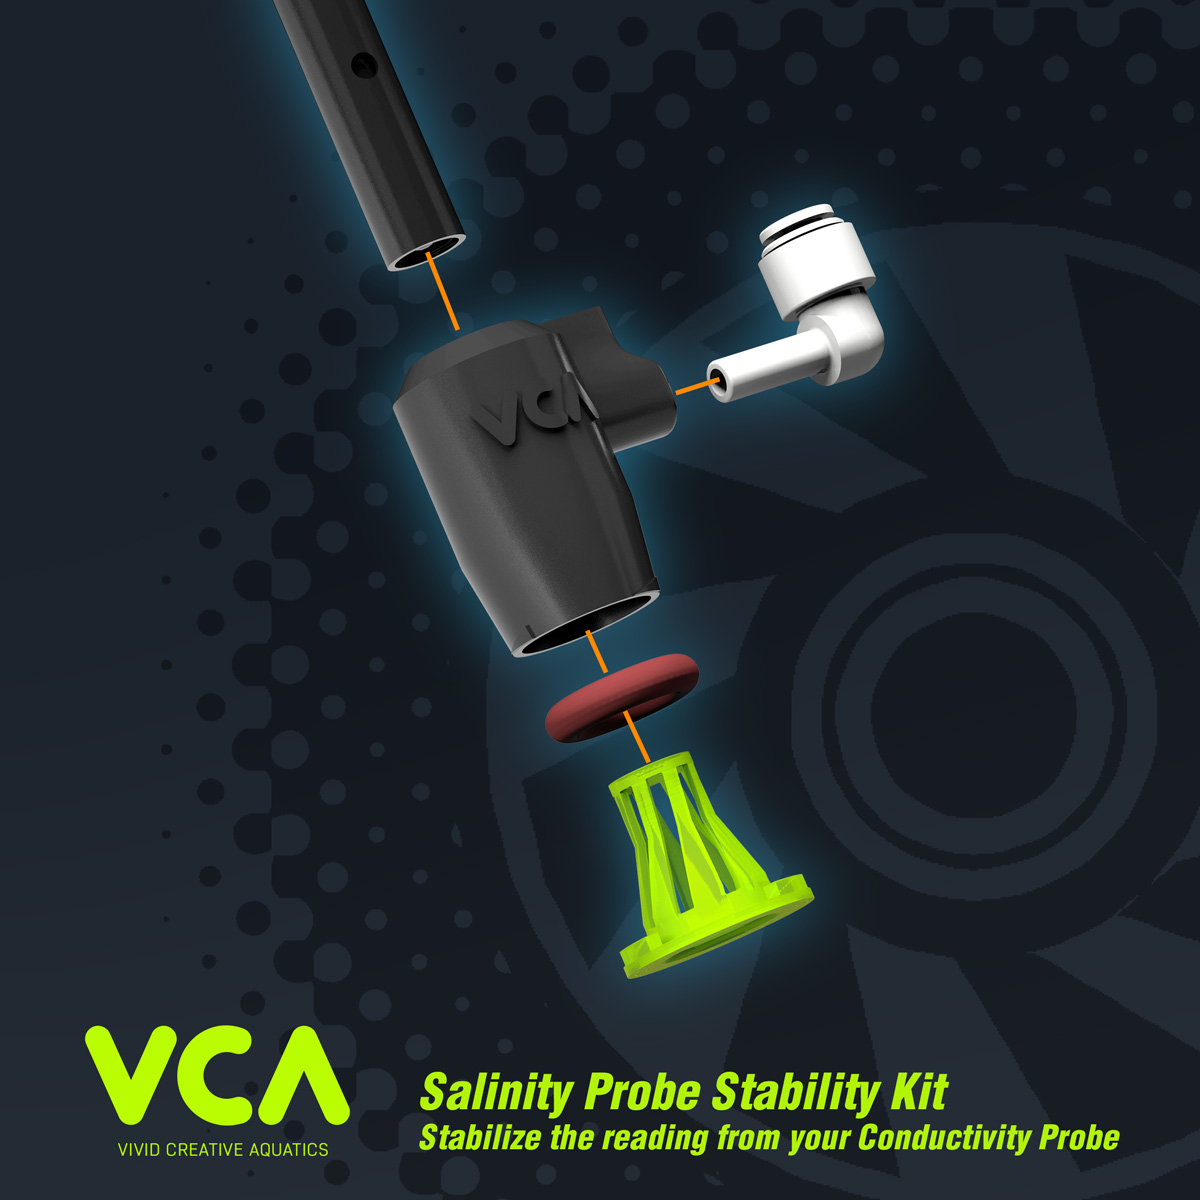
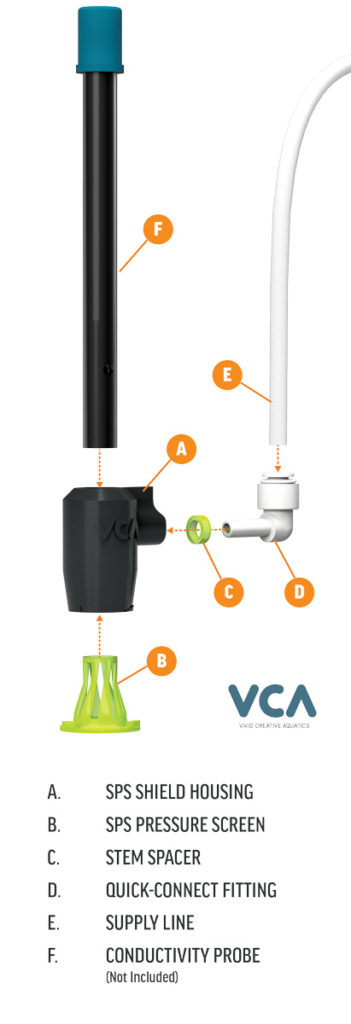 Basic Installation

- While supporting the Pressure Screen (B), carefully insert the end of the probe (F) through the top of the SPS Kit Housing (A).
- Gently push the probe in until it stops against the Pressure Screen.
- Connect the 1/4in supply line (E) to the push fitting (D)
- Connect the end of the supply line to the flow source
Initial setup
- Place the Probe with the SPS Kit installed into the water and turn on the flow source
- First – Gently shake the assembly up and down to dislodge any air bubbles that may be trapped inside.
- Next – Cover the opening at the bottom of the SPS Kit with you finger for a few seconds to expel any reaming air or bubble that may be trapped.
The settle in period will generally last a few minutes to as much as an hour. Once settled in, your reading will level out and you should see a steady trend line.